This article provides a step-by-step guide on how to efficiently manage your product catalog by uploading SKUs and configuring dynamic kits in bulk using a CSV file. Leveraging the SKU Upload feature in the MasonHub OMS allows you to bypass manual entry and ensure your inventory is accurately tracked across all systems.
Why use CSV Upload?
For brands launching dozens of new items or complex seasonal gift sets, manual entry is inefficient. Our CSV tool allows you to build your entire catalog in a spreadsheet.
Understanding the Requirements
Before you begin your upload, ensure your CSV file includes these essential fields to prevent errors and ensure smooth fulfillment:
Customer Identifier: Your unique SKU identifier used to transact and track inventory across systems.
Barcode: The identifier scanned on the physical product label. Note: Only child/component SKUs require barcodes; parent dynamic kit SKUs do not.
Dimensions (Height, Width, Depth): Critical for our team to size your inventory correctly in our facility.
Country of Origin & Commodity Code: Required for international orders to prevent them from being held for review.
Is Kit Column: Used to designate whether a SKU is a parent kit.
Watch a Video Demo
MasonHub OMS Demo: Upload SKUs and Configure Dynamic Kits with a CSV - Watch Video
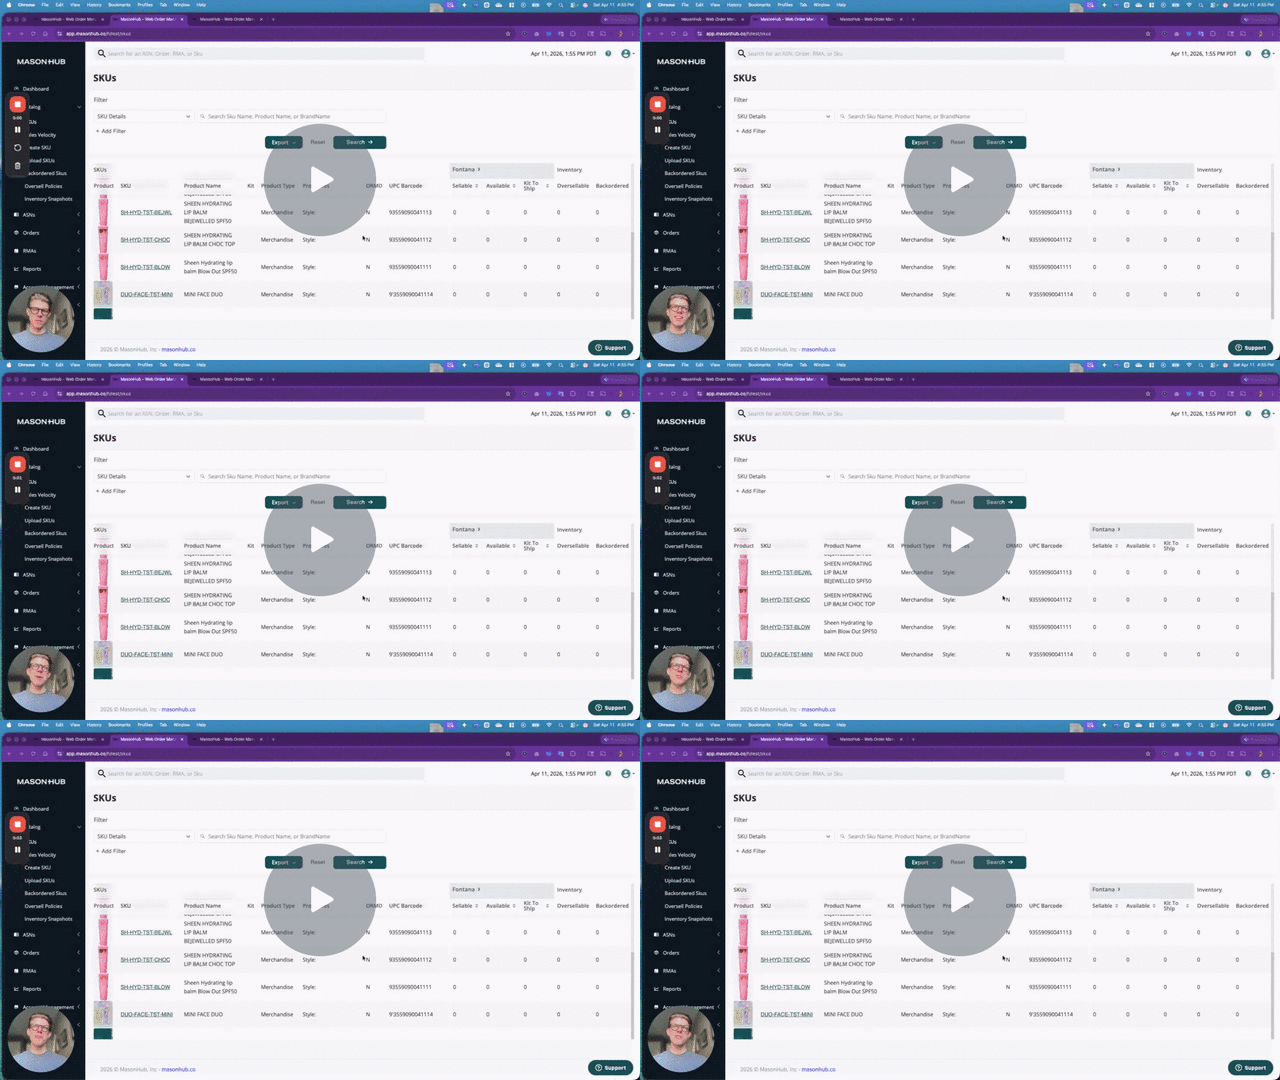
How to Upload SKUs and Configure Dynamic Kits
Follow these steps to upload your product data and link component SKUs to a dynamic kit.
Step 1: Download and Prepare the Template
Navigate to the Catalog section in the MasonHub OMS.
Click on Upload SKUs.
Click Download Template to get a pre-populated file with the required headers.
-
Enter your product information.
Pro Tip: If your barcode consists only of numbers (no letters), start the field with an apostrophe (') to force the system to recognize it as a text field.
Step 2: Upload Your SKU Data
On the Upload SKUs page, click Choose File and select your saved CSV.
Click Upload.
Review the status messages. If the system returns an error (e.g., "Barcode already taken"), edit your file and re-upload. [Insert placeholder: Screenshot of the SKU upload success/error dashboard]
Step 3: Configure Dynamic Kits in the CSV
To link individual products into a kit that is assembled during fulfillment, format your CSV as follows:
Identify the Parent SKU (the bundle name) in the Customer Identifier column.
In the Child SKU column, enter the identifier for the individual items that make up the kit.
-
In the Child Quantity column, specify how many of each child SKU should be included.
Example: If a "Trio Kit" includes two units of "SKU A" and one of "SKU B," set the quantities accordingly.
Set the Is Kit column to Y for the parent row.
Save and upload the file again to the Upload SKUs page.
Best Practices for Success
Pre-Configuration: Ensure your kits are fully configured in the MasonHub OMS before making the parent SKU active on Shopify or other sales channels.
Barcode Discipline: Do not add barcodes to parent dynamic kit SKUs; the system only needs to scan the individual items during the pick-and-pack process.
Flexible Updates: You can re-upload the same file to update existing SKU information; the system will simply update the record with the new data.
Additional Resources
Dynamic vs. Assembled Kits: Learn which kit type is right for your business.
Set Up Kits / Bundles: Detailed instructions for manual kit creation.
Create Work Orders: Required for physically pre-assembling kits.