Getting Started
Navigate to the Catalog section and click Create SKU. You will see three distinct SKU types: Standard SKU (merchandise), Supply, and Kit Bundle. While standard merchandise usually syncs from Shopify, manual creation is the primary method for setting up shipping supplies and kits.
Why Create and Edit SKUs Manually?
While the majority of your merchandising SKUs will flow automatically into MasonHub from your Shopify store or ERP, manual entry remains a critical tool for operational setup. Creating SKUs directly in the OMS is the primary way to manage non-selling inventory — like shipping boxes and promotional inserts — and to configure complex kitting logic that doesn't exist in your storefront. Manually editing existing SKUs also allows you to refine technical data, such as costs and international customs codes, without triggering unnecessary syncs back to your sales channels.
Important Sync Note: Edits made directly within the MasonHub OMS will not sync back up to Shopify or your ERP. Furthermore, subsequent updates triggered from Shopify or your ERP will overwrite most fields in the OMS. Fields protected from these external overwrites are the SKU Name, existing Barcodes/UPCs, and Dimensions.
Watch the Video Demo
MasonHub OMS: Create and Edit SKUs, Supplies, and Kits in the OMS Portal - Watch Video
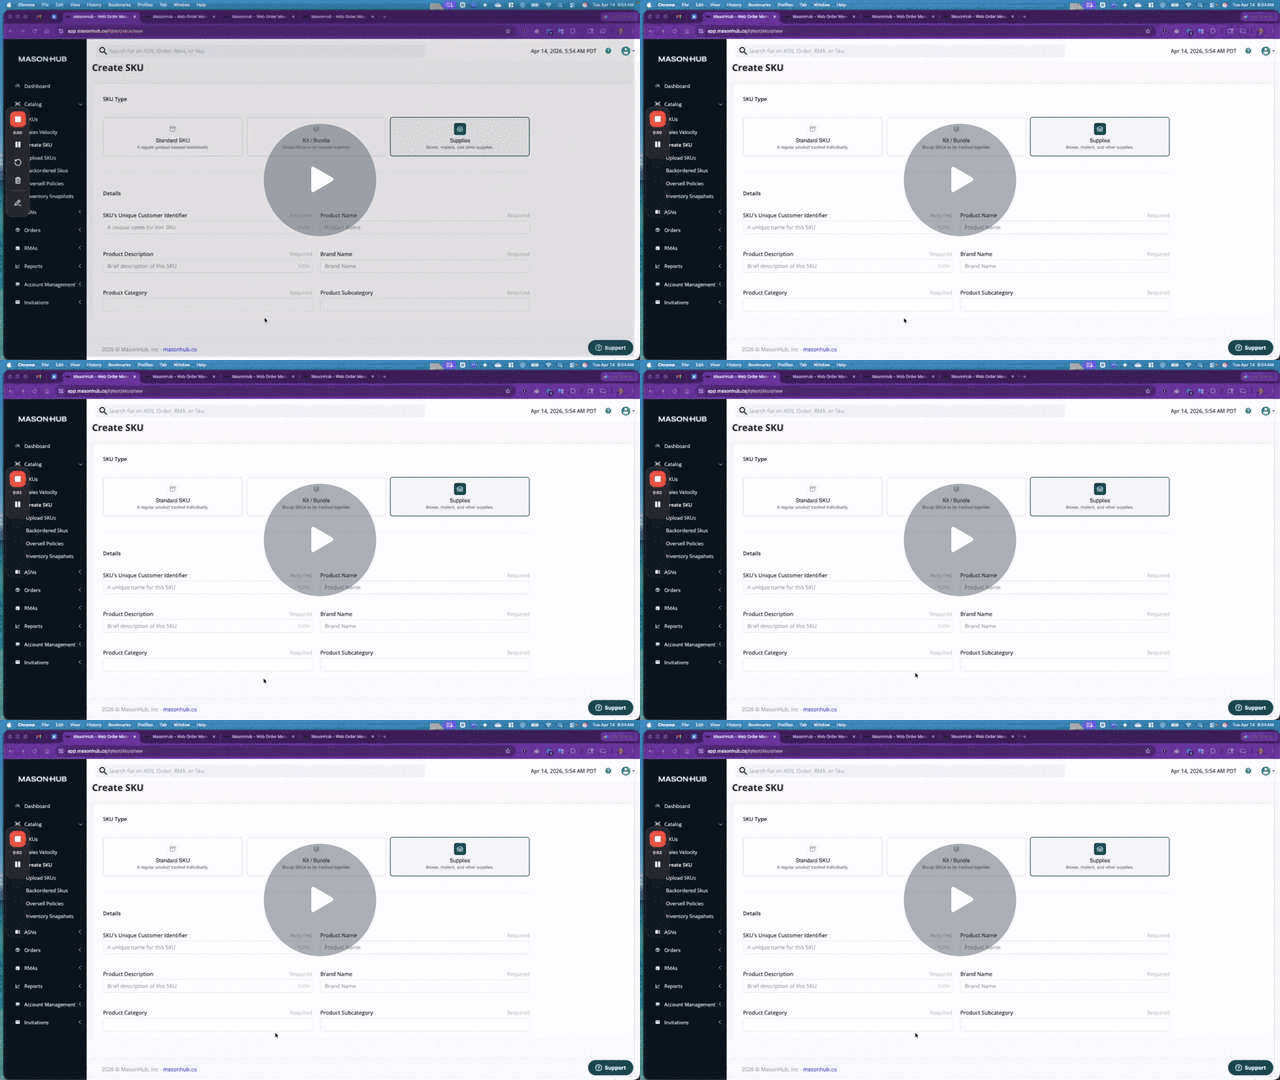
Creating Supplies (Boxes, Mailers, Inserts)
Supplies are used to track your packaging materials.
- Select Type: Choose "Supply."
- Required Fields: Enter the Name and SKU (e.g., "Medium Box 4x6").
- Barcoding Supplies: Every item in the OMS requires a barcode for scanning. Since many supplies (like plain boxes) don't have a pre-printed UPC, a best practice is to copy the SKU identifier into the barcode field.
- Dimensions & Weight: Enter the physical dimensions and weight. While weight is less critical for supplies, dimensions help with box-selection logic.
Configuring Kits and Bundles
When selecting the Kit Bundle SKU type, you must choose between two configurations:
- Assembled Only: These kits are pre-built via a Work Order. The system will only ship them if pre-assembled inventory is available. A physical UPC is required for the finished bundle.
- Dynamic Kits: These are "picked-to-order." The system looks at the individual component inventory at the time the order is placed.
Steps to Build a Dynamic Kit:
- Select Components: Use the search bar to find and add individual SKUs to the kit.
- Set Quantities: Adjust how many units of each component (e.g., 2 Lip Balms, 1 branded bag) make up the single kit.
- Parent SKU Identity: Create a unique identifier for the kit (e.g., "HYD-DUO").
- Visuals: It is highly preferred to upload an image to help our warehouse team visually identify the bundle.
Important: Rules for Editing
Once you click Create SKU, certain fields become permanent to prevent sync errors and missed scans:
- Customer Identifier (SKU): This is the unique ID and cannot be changed once saved.
- Primary Barcode: The initial barcode is hardcoded. However, you can add secondary barcodes if an item’s packaging changes. Note that no two SKUs can share the same barcode.
International Customs Information
If you plan to ship internationally, you must fill out the Customs section for every physical SKU:
- Country of Origin: Where the product was manufactured.
- Commodity Code: A six-digit Harmonized System (HS) code.
- Note: For Dynamic Kits, customs information is pulled from the individual components, but it is best practice to include a baseline code on the parent kit to avoid "Under Review" holds.
Additional Resources
- Create SKUs and Dynamic Kits via CSV Upload 📹: Learn which kit type is right for your business.
Set Up Kits / Bundles: Detailed instructions for manual kit creation.
Create Work Orders: Required for physically pre-assembling kits.